
Personal Website with Minimal Mistakes Jekyll Theme HOWTO - Part IV
This is Part IV of the website HOWTO series. See Part I on Docker, Part II on theme customization and Part III on deployment on GitHub Pages with private domain.
This website is built with Jekyll using Minimal Mistakes theme and hosted on GitHub Pages. For development and writing posts I use Docker that builds a static website locally and serves it from a Docker container. I then push the local changes upstream to GitHub which then builds the website on GitHub’s servers.
If you followed the steps in all three parts of HOWTO series, you should now have a fully functional website hosted on GitHub Pages. Steps in these post are optional, but nice to have if you want to improve SEO, add public comments provider and enable social share with images.
ADDING YOUR WEBSITE TO GOOGLE SEARCH CONSOLE
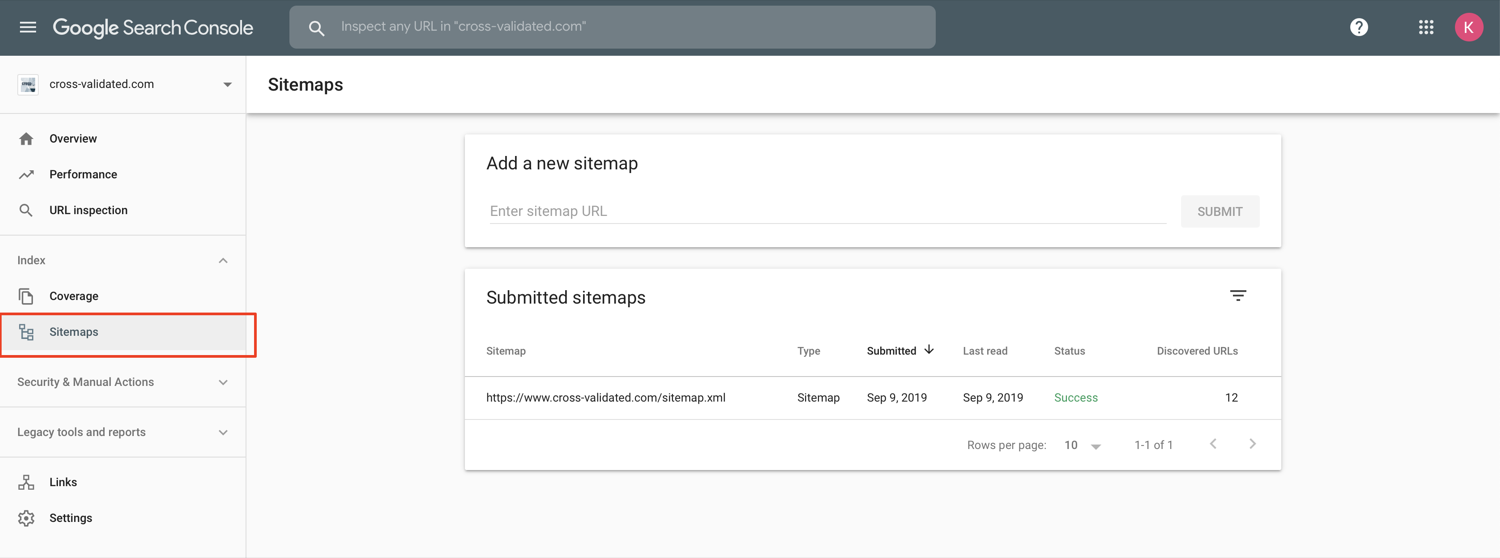
To get access to Google Search data for your website, you need first to verify site ownership. If you bought private domain from Google Domains, it will be automatically verified after you add a website property to Google Search Console.
Google Search Console provides tools to help you submit your content to Google and monitor how you’re doing in Google Search.
Note: It can take some time after verifying your site to start seeing data in Search Console reports, so be patient.
Next you should add sitemap.xml (which is automatically generated in MM theme with jekyll-sitemap plugin) to Google Search Console.
An XML sitemap lists a website’s important pages, making sure Google can find and crawl them all, and helping it understand your website structure — Yoast SEO for everyone 1
ADDING GOOGLE ANALYTICS
This is rather straitforward. You register your website at https://marketingplatform.google.com/about/analytics/.
Then you just need to specify analytics provider google in your _config.yml, add google tracking_id and set anonymize_ip to true to prevent the storage of full IP address information (which is also more ethical).
Note: The tracking_id usually starts with UA… You can find it when you click on All Website Data in the top left corner of Google Analytics page.
ENABLING PUBLIC COMMENTS
Minimal Mistakes supports a lot of comment providers, which for a newbie like me is quite overwhelming. I tried to enable Staticman, because it allows to escape reliance on third-party services. But as of now it seems to have problems with API calls to GitHub and the solution to host own instance of Staticman API didn’t appeal to me. 2
So I decided to go with Disqus. For this you need to signup with them first and provide your website’s shortname. Then enable disqus as provider in your _config.yml and add the shortname.
comments:
  provider               : "disqus" #false (default), "disqus", "discourse", "facebook", "staticman", "staticman_v2", "utterances", "custom"
  disqus:
    shortname            : cross-validated # https://help.disqus.com/customer/portal/articles/466208-what-s-a-shortname-
Don’t forget to build the website again after updating _config.yml.
Note: You won’t see public comments in Jekyll’s development mode (this is how Docker container described in HOWTO Part I is set up) even if you enabled provider in Minimal Mistakes theme. You need to switch to production environment first. See HOWTO Part III for more info.
ADDING FAVICON
- Favicon
- is a small icon associated with your website. Like this one:
Minimal Mistakes has the ability to add these small icons to different browsers. You have first to generate them with https://realfavicongenerator.net/ and then put the final images to your root directory and the links generated by the favicon generator to _includes/head/custom.html
ENACTING TWITTER CARDS AND FACEBOOK OPEN GRAPH
It’s almost a norm nowadays to share posts with images rather than just plain text. This is what Twitter Cards and Facebook Open Graph are for. Conveniently, the MM has already built them into the theme.You have all necessary meta tags in _includes/seo.html. To enable them, you need to set website’s url in _config.yml.
Note: Make sure that your url in _config.yml starts with https://www. Otherwise your metatags for Twitter and Facebook won’t work because they won’t recognize it as url.
Both Twitter Cards and Facebook OG rely on either image from og_image that you can specify in _config.yml or on particular teaser image that you specify on page’s Front Matter. Don’t forget to add excerpt to Front Matter for short description of post’s content to be shared via Twitter and FB.
CORRECTING OG IMAGE WHEN SHARING YOUR WEBSITE ON LINKEDIN
I had a problem with the OG image when sharing the link to my website on LinkedIn. It just kept fetching my avatar photo instead of a website logo. How to solve this?
- Make sure that you specified the path to your website’s logo in
og_imagein_config.yml. - Delete
| default: page.header.imagefrom
{%- assign page_large_image = page.header.og_image | default: page.header.overlay_image | default: page.header.image -%}
in _includes/seo.html
Note: You can check what image is fetched on LinkedIn at LinkedIn’s Post Inspector.
-
I find that Yoast’s blog provides a great start into Google Search Console. ↩
-
Some people host Staticman with Heroku. If you are interested, check out this tutorial. Not sure if it works though. ↩

Leave a comment