
How to install Google Optimize on your Minimal Mistakes website
In this post I describe how I installed Google Optimize on my Minimal Mistakes website so that I can run A/B tests.
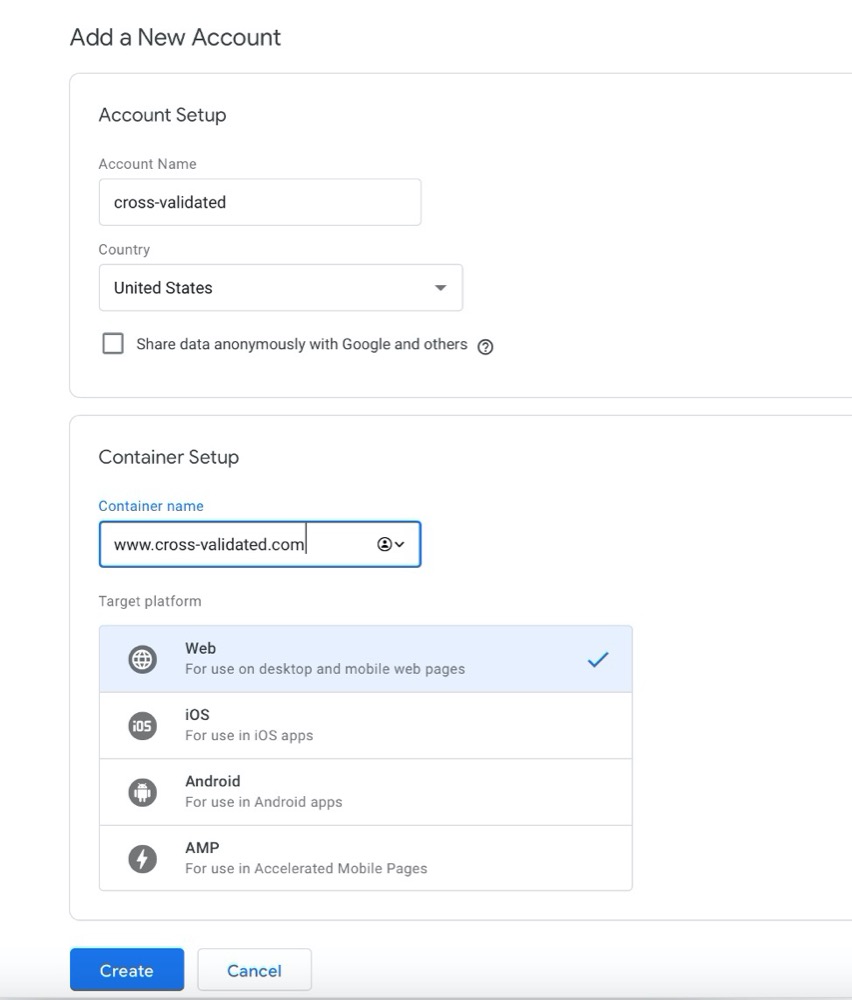
1. Register with Google Optimize
and create a container which will hold all the Optimize configurations for your A/B tests. You get a container ID that starts with “GTM-“ that will be added to a JavaScript snippet in the next step.
2. Install Optimize on your website
I used the global side tag (gtag.js) since Minimal Mistakes Jekyll theme already has this capability.
First, I had to enable google-gtag as provider in _config.yml and added optimize_id with my ‘GTM-‘ number. After these changes _config.yml should look like this (tracking_ids and optimized_ids were anonymized here):
  # Analytics
  analytics:
    provider               : google-gtag # false (default), "google", "google-universal", "custom"
    google:
      tracking_id          : UA-xxxxxxxxx-1
      anonymize_ip         : true # false (default)
      optimize_id          : GTM-xxxxxxx
Note: Developers of Minimal Mistakes Jekyll theme forgot to list google-gtag as an option in _config.yml. However, we actually have it among analytics-providers in google-gtag.html
Then I went to google-gtag.html and modified the script to include the reference to optimize_id like so:
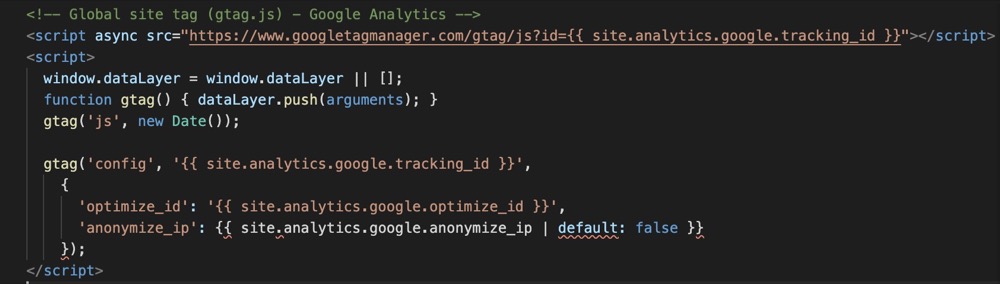
Finally, I git commit all the changes and pushed them to my GitHub.
3. Check if Optimize was installed correctly
For this I installed Optimize Chrome extension and then clicked on “Run diagnostics” which is available after you create your first experiment (more on that in another post).

Note: I couldn’t get Optimize installed correctly on the first try. So emptying cache was helpful. You can do it in Chrome by pressing longer the Reload button but only if you are in Developer mode (!). Then a window pops up with Empty Cache option.

If you still don’t get it right, check in Web Inspector or Developer Tools which javascript is activated. You might still get redirected to google.html with activates .google-analytics.com/ga.js, which is wrong because we want google-gtag.html instead.
After few trials and errors, I finally got Optimize correctly installed! Now I can start a new A/B test to try a different version of my website.
I hope this post was helpful, thumbs up below if you liked it!

Leave a comment